How to Plan a Trip from Scratch: Step by Step
So You Want to Plan a Trip From Scratch
Everyone starts somewhere. If youâve ever stared at a blank screen, a map full of pins, and a vague feeling that you should be travelingâbut no real idea how to make it happenâyouâre in the right place. This guide is for people who need to plan a trip from scratch. No existing itinerary, no pre-booked flights, no clue where to begin. Iâve put together hundreds of trips over the years, and the difference between a stressful trip and a smooth one comes down to a handful of decisions you make before you leave home. This isnât a list of pretty places. Itâs the actual logistics, the tradeoffs, and the shortcuts that save you money and headaches. Letâs get to it.
Step 1: Define Your Budget â The Foundation of Every Trip
Before you look at a single photo of a beach or a mountain, you need a number. Your budget determines every other choice youâll make: where you can go, how long you can stay, and what you can do once you get there. Iâve watched far too many people fall in love with a destination only to realize they canât afford the flights, the accommodation, or even a coffee there.
Start with a total number. Be honest. Then break it into five categories: flights, accommodation, food, activities, and a buffer (I recommend 15â20% of the total for surprise costs like a missed train or an extra night). A simple spreadsheet works fine. If you want something more structured, a budgeting app like Trail Wallet or TravelSpend can track this for you. I personally use a Google Sheet because I like to see everything at once, but the tool matters less than the habit. Donât skip this step. Every dollar you plan for now is a dollar you wonât be frantically searching for later.
Step 2: Choose Your Destination Wisely (Donât Just Pick a Place)
Picking a destination based on a photo is how you end up in a place that doesnât fit your budget, your timeline, or your interests. Instead, ask practical questions first. What are the visa requirements? How long does it take to get one? Whatâs the best season to visitâand when is the rainy season, the high season, or the shoulder season? What are the direct flight routes from your home airport? Whatâs the general cost of living there?
Compare two destinations to see the tradeoffs. For example, a trip to Portugal in the shoulder season (May or September) will cost significantly less than a trip to Switzerland in July. Portugal has affordable public transit, cheaper accommodation, and lower food costs. Switzerland has stunning scenery, but youâll pay a premium for everything from train tickets to a simple meal. The right choice depends on what you want, but understanding the difference before you book saves you a world of frustration.
Step 3: Set Your Dates and Trip Length â Flexibility Is a Tool
If you have control over your dates, use it. Flying mid-week (Tuesday or Wednesday) almost always costs less than weekend departures. Shoulder seasonsâthe weeks just before or after the peak summer or winter rushâoffer better weather, lower prices, and fewer crowds. Avoiding major holidays like Christmas, Easter, or local festivals can drop your flight cost by 30% or more.
Your trip length also matters. A 10-day trip can cover one region well. A 5-day trip is better for a single city. Trying to see three countries in a week is a recipe for exhaustion. Be honest about how much time you can actually take off work. Then subtract one day for travel on each end. Thatâs your real trip length. Use flight comparison tools like Skyscanner or Google Flights to experiment with dates. Just looking at a price calendar for a few minutes can save you hundreds of dollars.
Step 4: The Art of Booking Flights â When and How to Secure the Best Deal
Booking flights is where most people make their first big mistake. They either book too early (six months ahead for a domestic flight) or too late (two weeks before a peak season international flight). The sweet spot for most international travel is 2â3 months in advance. For domestic travel, 4â6 weeks is usually enough.
The big question is: book direct with the airline or use a third-party site? Hereâs the honest answer. If you value convenience and straightforward customer service, book direct. If you find a significantly lower price on a third-party site (and you have some experience dealing with changes), use a reputable site like Expedia or Priceline. But be warned: if something goes wrong, youâre dealing with the third-party, not the airline.
Consider layovers carefully. A 2-hour layover can be fine, but a 45-minute connection in a huge airport like Heathrow is a gamble. If youâre a budget traveler, long layovers in a place like Reykjavik or Dubai can save you money. If you prefer convenience, a direct flight is worth the premium. Always check carry-on size limits for budget airlines. That $200 flight can become a $400 flight if your bag is too big. A reliable luggage scale can help you avoid unexpected fees at the gate.
Step 5: Accommodation Strategy â Hotel, Hostel, or Rental?
Your choice of accommodation can make or break a tripâand not just for comfort. It affects your daily rhythm, your ability to cook meals, and your access to neighborhoods.
Hotels are best if you want consistency, a front desk for questions, and breakfast included. Theyâre great for couples or solo travelers who value convenience over space. But they can feel isolating, and the cost adds up fast.
Hostels are ideal for solo travelers on a budget. They offer social interaction, shared kitchens, and often a central location. The downside is noise, limited privacy, and varying cleanliness. Some hostels now offer private rooms, which give you a good middle ground.
Vacation rentals (Airbnb, Vrbo) are best for groups, families, or anyone who wants a kitchen and more space. They also let you stay in residential neighborhoods, which is a much better way to experience a place than a tourist strip. The tradeoff: no reception desk, inconsistent quality, and sometimes hidden fees. If you need reliable Wi-Fi for work, choose a hotel or a rental with a co-working space nearby.
For a one-week trip, I usually recommend a mix. Start with a hotel for the first night to get your bearings, then switch to a rental or hostel for the rest. It breaks up the routine and gives you local experience. Booking platforms like Booking.com or Expedia let you filter by these options easily.
Step 6: Build Your Daily Itinerary (Without Overplanning)
The biggest mistake first-timers make is planning every single hour of every day. That leads to burnout, missed moments, and resentment. Instead, use a 1:1 ratio: for every planned activity, give yourself an equal block of free time.
For example, if you have a museum ticket for 10 AM, leave the rest of the afternoon open. Grab a coffee, walk around a neighborhood, sit in a park. The best travel memories happen in those unplanned gaps. Use a trip planning app like TripIt or Roadtrippers to keep your bookings in one place, but donât schedule every meal. Just list a few anchor activities per dayâlike a tour, a hike, or a cooking classâand let the rest unfold.
If youâre visiting a city with world-famous attractions (like the Louvre or the Colosseum), book tickets in advance. Everything else can be decided the day before. This approach gives you structure without suffocating your trip.

Step 7: Plan Your Transportation on the Ground
Getting from place to place is often the most stressful part of a trip. Avoid this by planning your ground transport before you go. Research the local public transit system. Most cities have a transit app (like Citymapper or Moovit) that works offline.
Public transit is almost always the cheapest and most flexible option for city travel. It gives you freedom and a real look at daily life.
Ride-shares (Uber, Lyft, local equivalents) are good for late nights or when you have heavy bags. Theyâre less convenient in rural areas.
Rental cars make sense if youâre visiting a region with poor public transit (like the Scottish Highlands or the American Southwest) and youâre comfortable driving on the other side of the road. They donât make sense in dense cities where parking costs more than the rental itself.
Private transfers can be worth the money for airport-to-hotel trips, especially if you arrive late at night. Pre-book these online for peace of mind. If youâre on a budget, take the train or bus.
Step 8: Book Tours and Activities in Advance vs. On Arrival
Hereâs a simple rule: book anything that requires a permit or has limited capacity in advance. That includes popular museum tickets (like the Uffizi or the Prado), guided hikes (like Machu Picchu or the Inca Trail), and any activity that sells out weeks ahead. Everything elseâwalking tours, cooking classes, day tripsâcan be booked a day or two before.
Booking in advance guarantees your spot and often saves you money. On the other hand, booking on arrival gives you flexibility. If you decide you want to sleep in or change your plans, you can. I recommend pre-booking one or two key experiences per trip and leaving the rest open.
Avoid booking tours from random people on the street. Stick to reputable platforms like Viator or GetYourGuide where you can read reviews and see cancellation policies. Pay attention to recent reviews, not just the overall star rating. A tour that was great three years ago might be terrible now.
Step 9: Prepare Your Documents and Digital Backup Plan
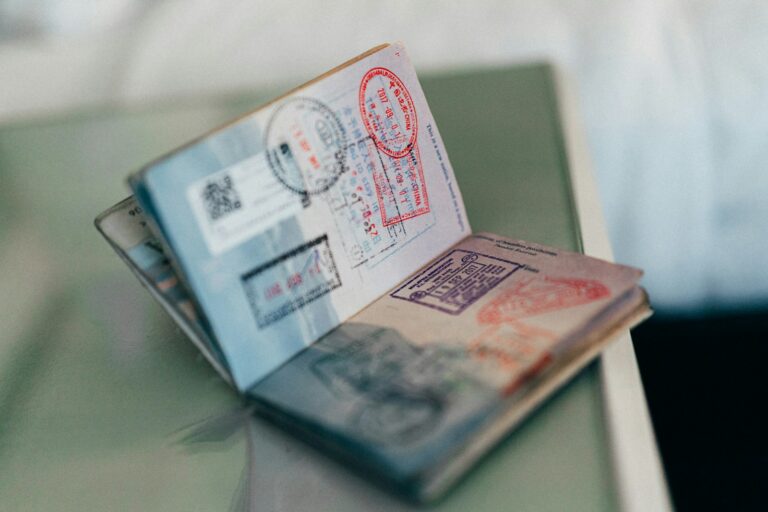
This is the least exciting part of planning, but itâs also the one that can ruin a trip if you ignore it. Start with your passport: check the expiration date. Many countries require your passport to be valid for at least six months beyond your travel dates. If itâs close, renew it now, not two weeks before departure.
Check visa requirements for every country you plan to visit. Some visas take weeks to process. Donât assume you can get one on arrivalâmany countries no longer allow that. Travel insurance is also non-negotiable. Medical emergencies abroad can cost tens of thousands of dollars. A good policy from a company like World Nomads or SafetyWing covers medical, trip cancellation, and lost baggage. It costs a fraction of a flight and gives you real peace of mind.
Make digital copies of everything: your passport, visa, travel insurance, flight confirmations, and accommodation bookings. Store them in a secure cloud folder (Google Drive, Dropbox) and email them to yourself. If your phone is stolen, you still have access. A travel document organizerâeither a small zippered pouch or a digital app like PassportScannerâkeeps everything in one place.
Step 10: What to Pack â A Minimalist, Problem-Solving Approach
Donât pack for every possible outfit. Pack for flexibility. The goal is to handle different weather, dress codes, and activities without a giant suitcase.
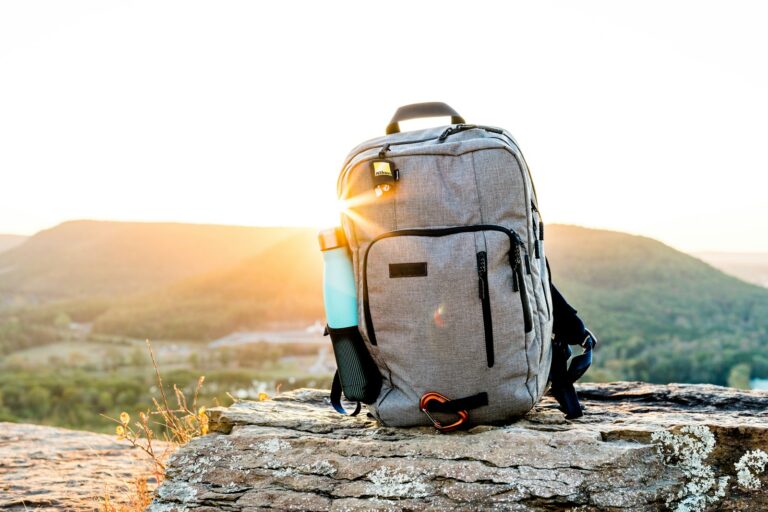
Start with a versatile bag: a carry-on-size backpack or rolling suitcase that fits in overhead bins. Add packing cubes to compress clothes and keep things organized. Bring layers: a base layer (merino wool or synthetic), a mid-layer (fleece or sweater), and a waterproof outer layer. This covers everything from city walking to mountain hiking.
Include a basic first aid kit with pain relievers, band-aids, antiseptic, and any prescription meds. A tech organizer (a small pouch) keeps cables, chargers, and power banks from tangling. Donât forget a portable power bankâyour phone is your most important travel tool.
The most common packing mistake is overpacking. Youâll wear 40% of what you bring. Iâve done it dozens of times. Trust me: you can buy a t-shirt anywhere in the world. Leave space in your bag for souvenirs.

Common Mistakes First-Timers Make When Planning from Scratch
Let me save you some trouble. Here are the mistakes I see most often:
- Ignoring visa wait times. You think you can get a visa in a week. You canât. Start the process two months out.
- Not budgeting for ground transfers. The train from the airport to the city center costs money. The bus from one town to another costs money. Add it up before you go.
- Overplanning every single hour. This leads to burnout. You miss the moments that make travel memorable.
- Forgetting travel insurance. Iâve seen a $20,000 medical bill. Itâs not worth the risk.
- Assuming things will be open. Check public holidays, seasonal closures, and local schedules. A lot of Europe shuts down in August. A lot of Southeast Asia shuts down for holidays.
Every one of these is avoidable. A little research now saves a lot of stress later.
Final Checklist: Your Trip Planning Workflow
Hereâs the entire process in a quick checklist. Use it as your starting point.
- Define your total budget and break it into categories.
- Choose a destination based on practical factors (visa, season, cost).
- Set your dates with flexibility in mind (shoulder season, mid-week).
- Book flights during the optimal window (2â3 months out for international).
- Book accommodation that fits your travel style (hotel, hostel, rental).
- Build a daily itinerary with a 1:1 ratio of planned to free time.
- Plan ground transport (public transit, rental car, transfers).
- Pre-book key tours and activities; leave the rest open.
- Prepare documents (passport, visa, insurance, digital backups).
- Pack light with versatile, problem-solving gear.
Thatâs it. Now you have a clear, repeatable process for planning any trip. Whether youâre heading to Europe, Asia, or somewhere closer to home, this workflow will save you time, money, and frustration. Start with Step 1, and take it one piece at a time. Before you know it, youâll be on the road.