How to Handle Travel Emergencies Abroad: A Practical Guide
Introduction
You’ve planned your itinerary, booked your flights, and packed your bags. But have you thought about what happens if something goes wrong? That’s the part of travel most people skip, and it’s the one that matters most. This travel emergencies abroad guide is for anyone heading overseas, especially if you’re newer to international travel or just want to be more prepared. I’ve spent years helping clients navigate lost passports, medical scares, and stolen gear. The difference between a bad story and a nightmare is almost always preparation. Not luck. Not hoping for the best. A few simple steps before you leave can turn a potential crisis into a manageable inconvenience. That’s a level of peace of mind worth investing in.
Why Every Traveler Needs a Plan for Emergencies Abroad
Think about the kinds of emergencies that can actually happen. A sudden illness that lands you in a foreign hospital. Your wallet lifted in a crowded market. A missed flight that unravels your entire schedule. A natural disaster that shuts down a region. These aren’t rare edge cases. Over a million passports are lost or stolen every year, and that’s just one category. Medical emergencies abroad are even more common, especially for older travelers or those with pre-existing conditions.
The real problem isn’t the emergency itself. It’s that most travelers never think about what to do until they’re standing in the middle of it. Panic fills the gap where a plan should be. That’s when bad decisions get made. Giving someone cash for a fake hospital bill. Waiting hours at a police station without knowing the local process. Not having the right phone number to call.
A plan doesn’t have to be complicated. It just needs to exist. You need to know where your documents are, how to get help, and what steps to take first. That’s what this guide covers. It’s not about being scared. It’s about being smart.
Step 1: Gather Essential Documents Before You Go
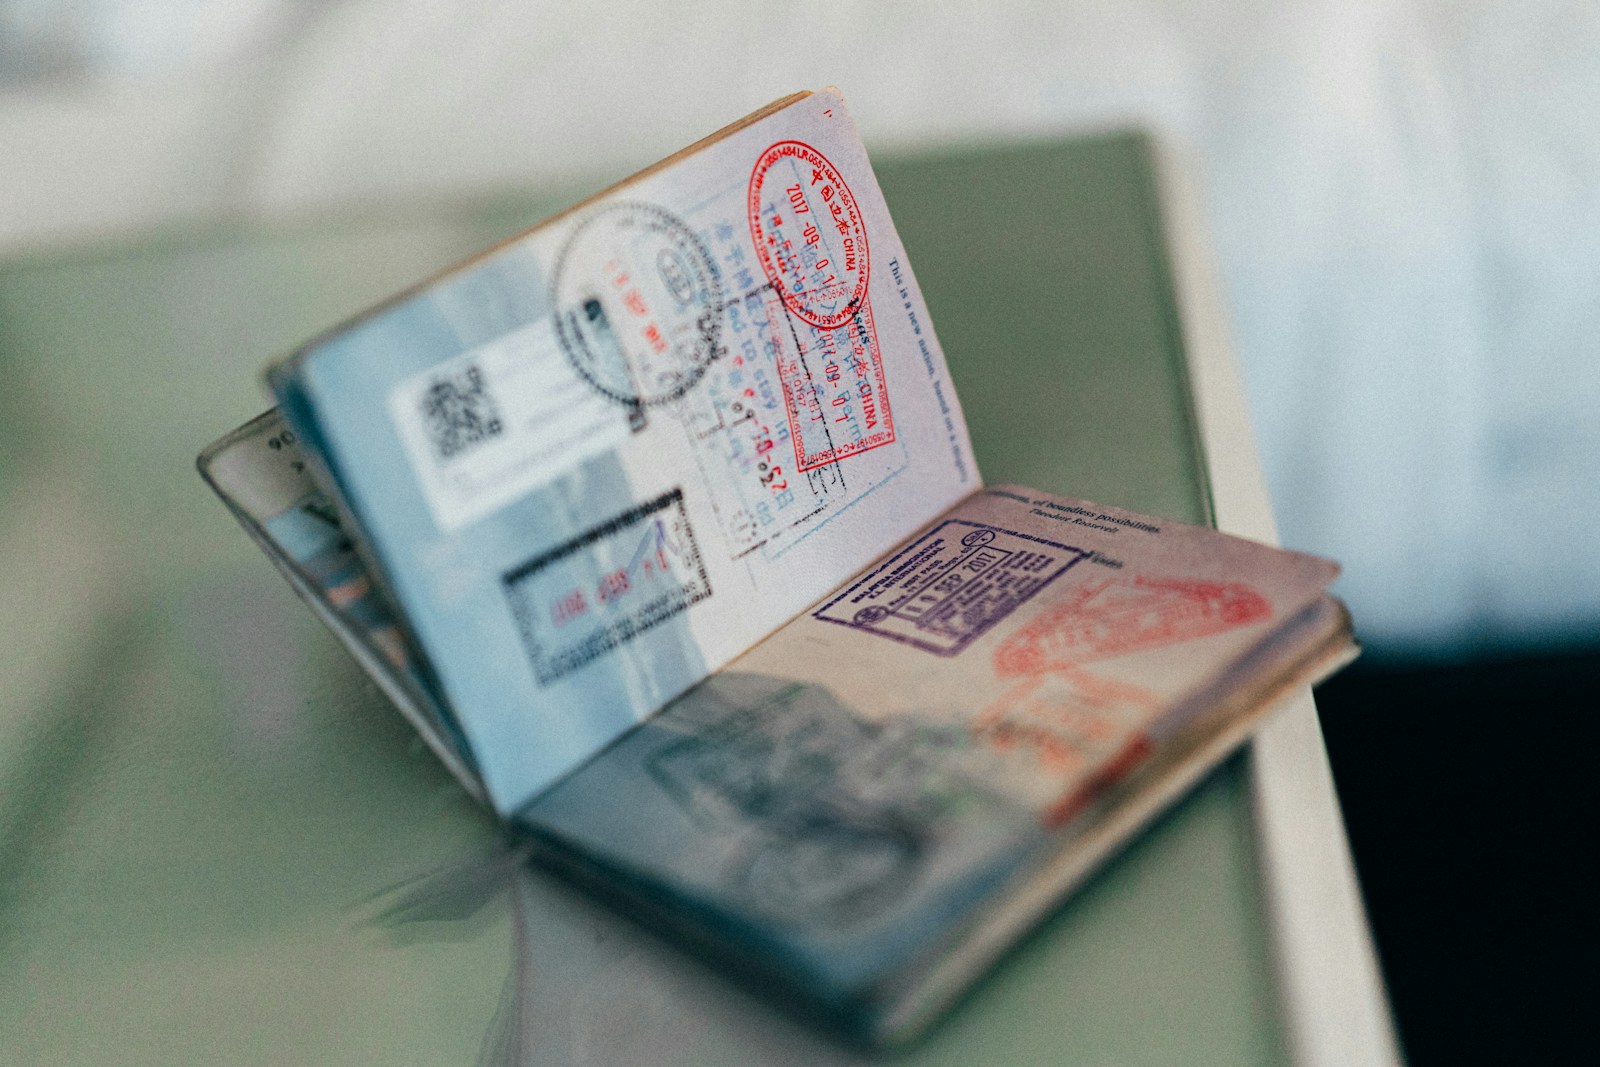
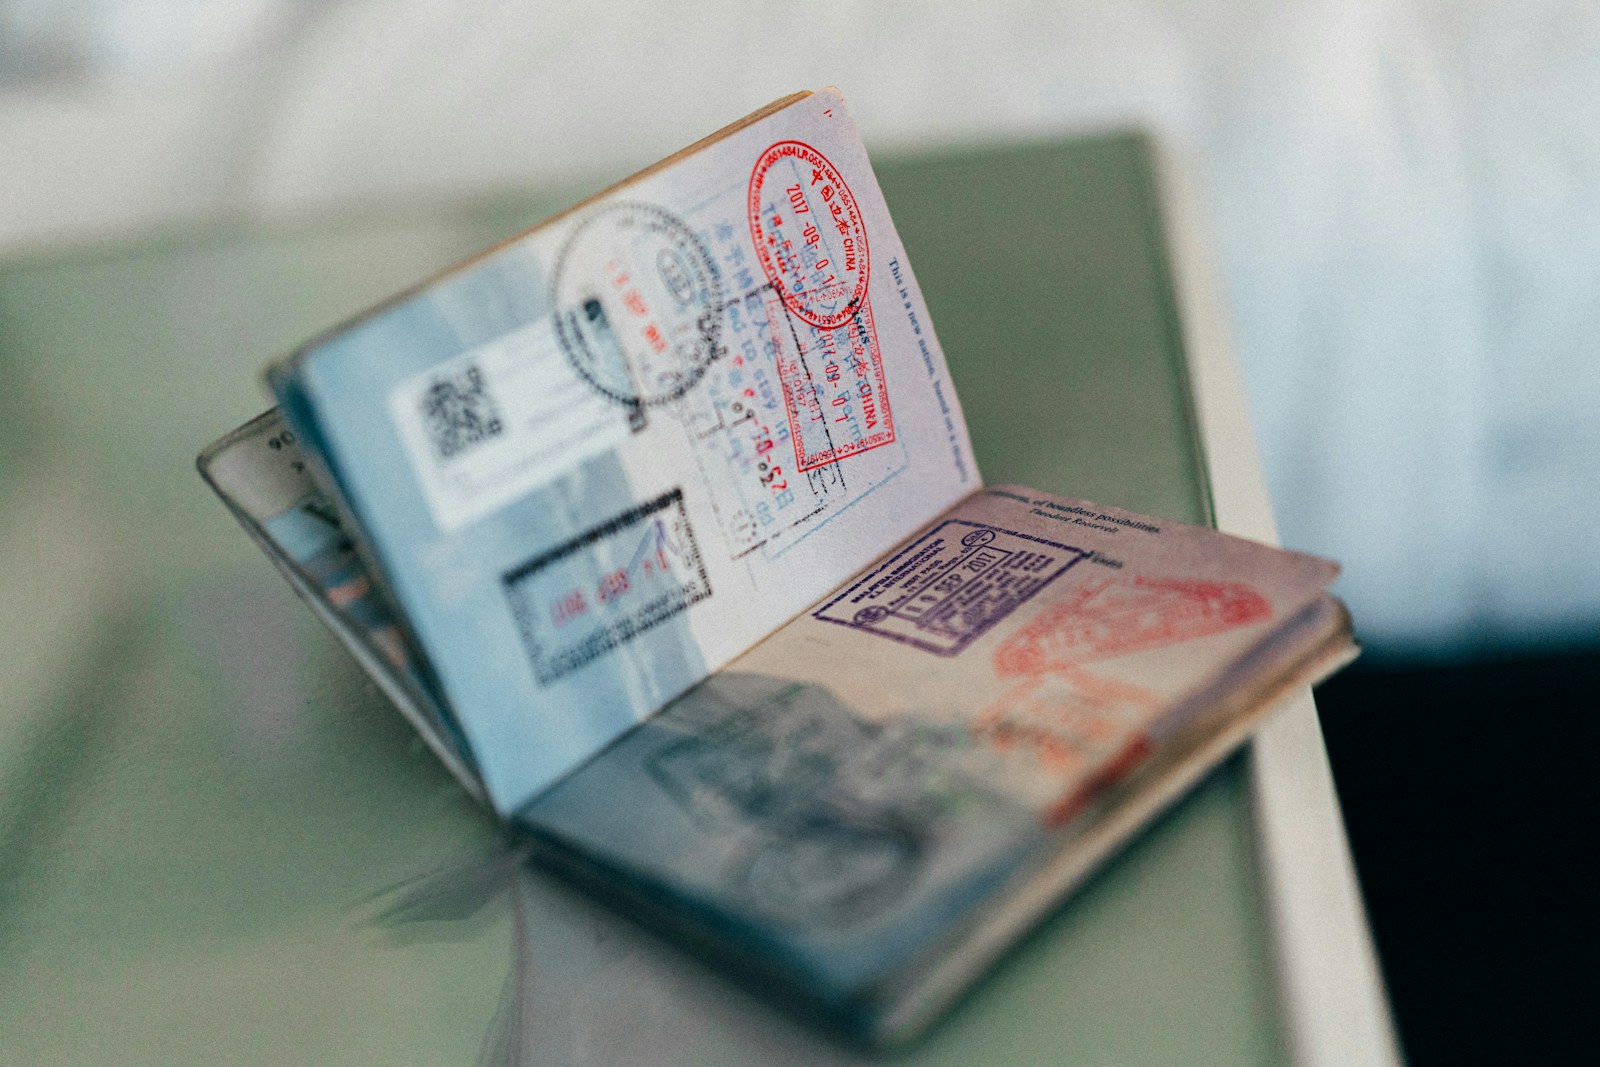
Before you step foot on a plane, get your document situation locked down. This isn’t optional. Start with your passport. Make two physical photocopies of the main page and any visa pages. Keep one copy in your suitcase, separate from your actual passport. The other goes to a trusted person back home who can email it to you if needed. Then take a photo of your passport and save it in a secure cloud folder like Google Drive or Dropbox. Do the same with your driver’s license, travel insurance policy, and any prescriptions.
Next, list the contact information for every embassy or consulate from your home country in the places you’re visiting. Write down their phone numbers and addresses. Don’t rely on looking them up later. Cell service isn’t guaranteed.
Also pack your medical records. If you have allergies, a chronic condition, or take prescription medication, carry a printout from your doctor in English and the local language of your destination. It speeds everything up if you need treatment.
Storage matters here. A waterproof document wallet is a small investment that protects against rain, spills, and general wear. An RFID-blocking wallet or sleeve adds protection against digital pickpocketing, which is real in crowded transit hubs. These are easy things to buy ahead of time. A portable safe is another option if you’re carrying expensive gear or staying in shared accommodations. Keep documents separate from cash and cards so a single theft doesn’t take everything.
Step 2: Choose the Right Travel Insurance for Your Needs
Travel insurance isn’t all the same. Buying the cheapest policy because you just want to check a box is a common mistake. The right policy depends on where you’re going, what you’re doing, and what you own.
Let’s break it into three rough tiers. Basic policies cover trip cancellation, lost luggage, and limited medical expenses. They’re fine for a short city break where you’re staying in one place, don’t plan risky activities, and have a credit card that does offer some coverage. But check the gaps. Many basic plans exclude pre-existing conditions, adventure sports, and medical evacuation.
Mid-tier policies add medical evacuation, higher coverage limits for medical expenses, and better trip interruption benefits. This is the sweet spot for most travelers. If you’re hiking, diving, cycling, or doing anything beyond walking around a city, mid-tier is where you should start.
Premium policies are for long-term travelers, digital nomads, or anyone visiting remote or high-risk regions. They offer high medical limits, comprehensive evacuation coverage, and often include services like concierge help for finding hospitals or arranging translation. They cost more, but they’re worth every cent if something serious happens.
Also consider what your credit card covers. Some premium cards include solid travel insurance, but they rarely cover pre-existing conditions or offer enough medical evacuation coverage. Read the fine print. If your card covers trip cancellation but not medical, buy a separate medical-only policy.
A good approach is to use a reputable comparison site or a well-known provider like World Nomads, SafetyWing, or Allianz Travel. Compare based on your specific trip, not a generic recommendation. And always call the provider if you have questions about coverage limits for your particular activities.
How to Handle a Medical Emergency Abroad
A medical emergency abroad is different from one at home. Everything takes longer, costs more, and introduces language hurdles. The right response depends on knowing the system you’re in.
First, assess the situation. Is it life-threatening? If yes, call the local emergency number. Every country uses different numbers, so look this up before you travel. For less urgent issues, contact your travel insurance company first. Their 24-hour assistance line will tell you which hospitals or clinics are vetted and covered under your policy. Do not just walk into the nearest hospital. You might end up in a private facility that charges double and isn’t covered.
When you go to a hospital, bring your passport, insurance card, and any relevant medical records. Request an itemized receipt for everything, including consultations, medications, and procedures. This makes reimbursement much easier later. If you have to pay upfront, keep the receipt and submit it to your insurance as soon as possible.
One of the biggest mistakes travelers make is assuming their insurance covers pre-existing conditions. If you have asthma, diabetes, high blood pressure, or anything else ongoing, confirm coverage explicitly before you leave. Some policies will cover a sudden flare-up if your condition is stable. Others will deny the claim immediately. Know which camp you’re in.
Another common pitfall is language. In some countries, doctors speak excellent English. In others, you’ll need a translator. Many insurance assistance lines can provide translation services. In a pinch, apps like Google Translate work well for basic communication, especially if you download the language pack for offline use ahead of time. A small medical phrasebook for your destination language is also useful, particularly for symptoms and allergies.
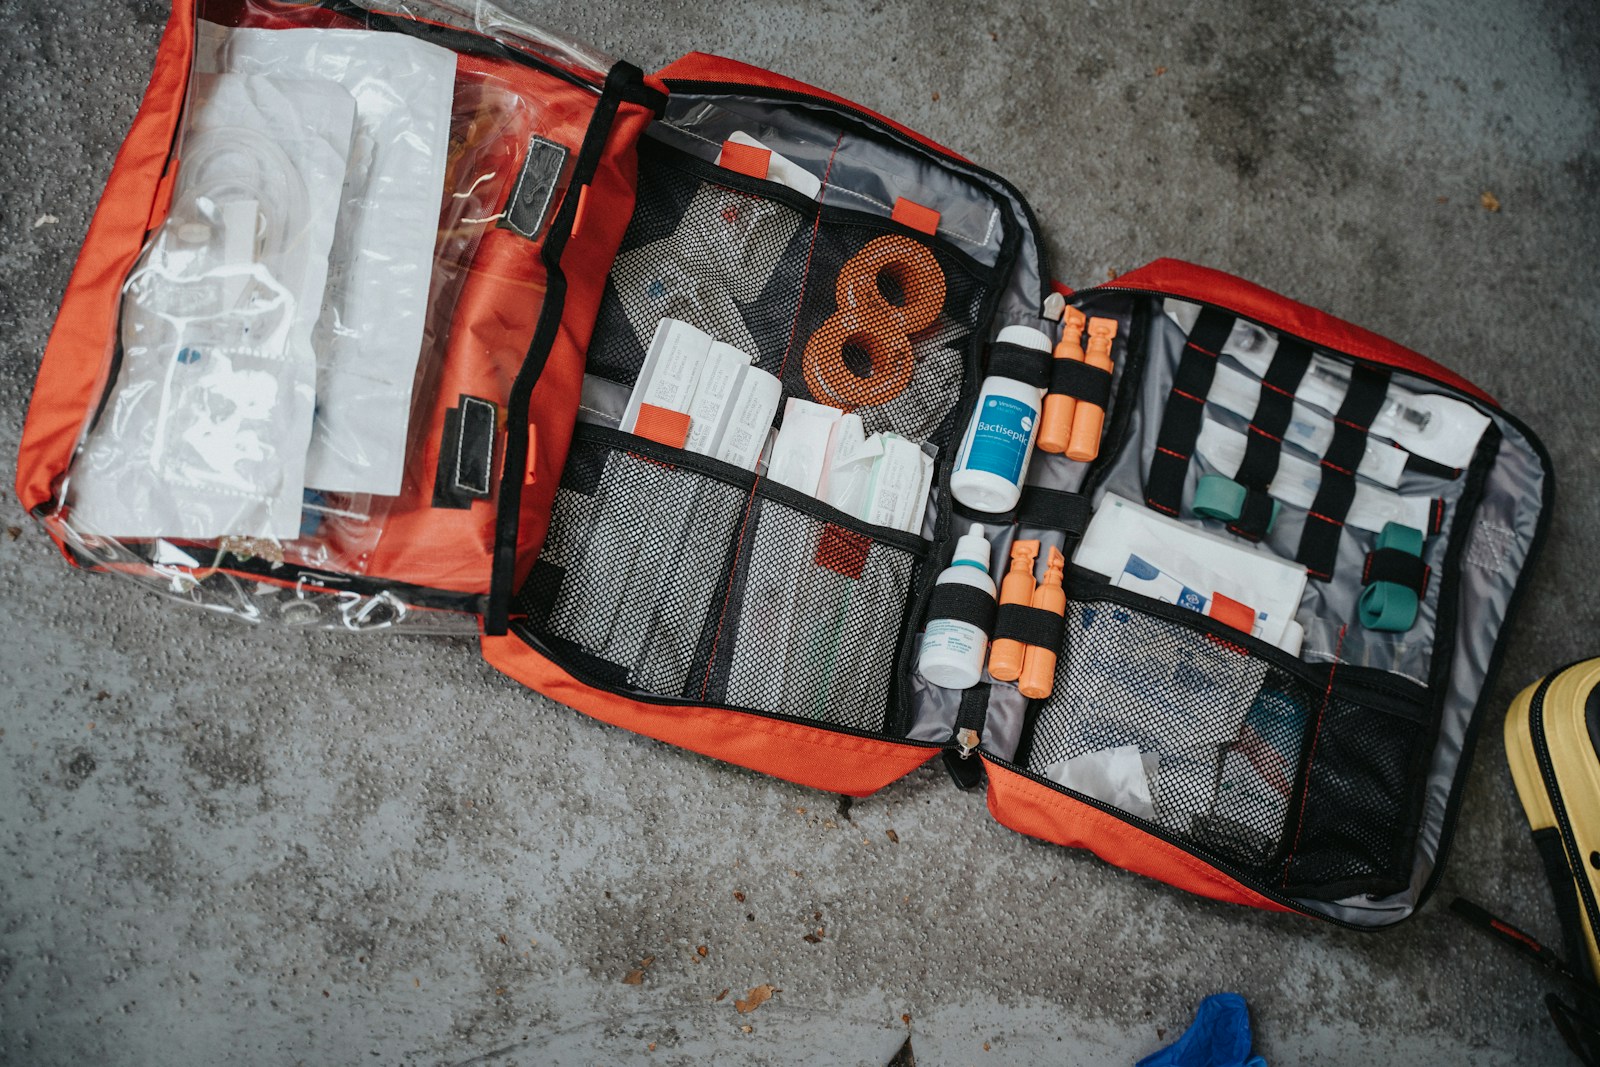
If you’re traveling to a remote area, consider a portable medical kit. You can’t assume you’ll find a pharmacy with the right medications. Your kit should include basic first aid items, any prescription medications you need, and a course of antibiotics (if prescribed by your doctor). Just be careful about local laws regarding medications. Some countries require proof of prescription for common drugs.
Dealing with Theft or Lost Belongings
Theft happens, especially in tourist-heavy areas. The key is to have a system in place before it does. If your wallet or bag is stolen, your first move is to cancel any debit or credit cards. Do that before anything else. Your bank’s app should allow instant freezing of cards. Or call them directly. Then file a police report. You’ll need it for the insurance claim.
Filing a police report abroad can be a pain. In some countries, you’ll wait hours at a station, pay a small fee, or deal with indifferent officers. Don’t let that discourage you. Without a report, many insurance companies won’t process a claim for stolen property. Be polite, persistent, and bring a copy of your passport. The report should list the items stolen, their approximate value, and your contact information.
After you’ve filed the report, contact your insurance provider to start the claim process. They’ll tell you what documentation they need. This is where having a list of serial numbers for expensive electronics, like laptops and cameras, saves time. Without serial numbers, some insurers limit their payout or require more proof of ownership. Snap a photo of your gear’s serial numbers and store it with your other travel documents.
One thing that helps avoid this situation altogether is a good money belt or travel lock. A money belt worn under your clothes makes it much harder for a pickpocket to access your cash and cards. A small combination lock on your backpack zipper deters opportunistic grabs when you’re on public transport. Do not carry all your valuables in one place. Split them between a money belt, your main bag, and your accommodation safe.
What to Do When You Lose Your Passport
Losing your passport is stressful, but it’s fixable. The moment you realize it’s gone, check your digital and physical copies. Use them to fill out the paperwork needed for a replacement.
Your first stop is the nearest embassy or consulate of your home country. Search online for their emergency passport service hours and fees. In most cases, you can get an emergency passport within a day or two if you apply early. Processing fees vary but expect to pay between $100 and $200. You will need a police report, a passport photo, and proof of identity like the copy you saved. Some embassies require an appointment, so call ahead.
The cost and time required depend on your location and the time of year. During peak travel seasons, embassies are busier, so get there as early as possible. An emergency passport is usually valid for a limited period, often one year. You can use it to finish your trip and get a full replacement when you’re home.
To prevent this, always keep a physical copy of your passport in a separate bag from the original. A passport holder that fits in a money belt or inside jacket pocket is a good investment. A document organizer with multiple sleeves keeps everything in one place and reduces the chance of losing something.
Staying Connected: Communication During a Crisis
When things go wrong, you need to reach people. Your phone may or may not work depending on your plan and location. A local SIM card or eSIM is cheap and reliable for most destinations. You get a local number for calls and data for messaging apps like WhatsApp, Signal, and Telegram. Those apps work over Wi-Fi too, so even without a SIM, you can communicate as long as you have an internet connection.
For remote or high-risk areas, a satellite phone is the most reliable option. They’re expensive to buy or rent, but they work where nothing else does. If you’re hiking, climbing, or traveling through regions with sparse infrastructure, a satellite communicator like a Garmin inReach provides two-way messaging and SOS alerts without the full cost of a satellite phone.
The common mistake here is assuming your domestic phone plan covers you abroad. Check your roaming rates before you go. Even with an international plan, data can be slow or unreliable in less developed areas. A portable Wi-Fi device that uses a local data network can keep you connected without draining your phone battery. A backup battery pack ensures your phone stays charged through a long day of dealing with an emergency.
Natural Disasters: How to Stay Safe Abroad
Natural disasters don’t care about your itinerary. Earthquakes, hurricanes, floods, and wildfires can happen anywhere. The best prevention is knowing what to do before you arrive.
First, register with your embassy through the STEP program (Smart Traveler Enrollment Program) if you’re a U.S. citizen. Similar programs exist for other countries. This lets your embassy know you’re in the area and can send you alerts and evacuation instructions. It’s free and takes five minutes.
When you arrive, learn the evacuation routes and safe zones near your accommodation. Hotels typically have posted evacuation plans. Read them. If you’re staying in a rental, ask the host about emergency procedures. Rentals often don’t have on-site staff to help, so you’re more on your own.
Monitor local news and weather apps. Many destinations have government-run alert systems that send warnings about incoming storms, floods, or seismic activity. Pay attention to them. Ignoring a hurricane warning because you don’t want to cut your trip short is dangerous.
If you’re in an earthquake zone, practice drop, cover, and hold on. If you’re in a hurricane zone, know the nearest storm shelter. If you’re in a flood zone, keep important documents and a small emergency bag at a higher elevation.
A personal safety alarm is a small item that can draw attention if you’re in immediate danger. An emergency blanket is compact, inexpensive, and can be a lifesaver if you’re stranded outdoors. These aren’t for everyone, but they’re worth having if you’re heading into unpredictable environments.
Common Mistakes Travelers Make in Emergencies
I’ve seen the same patterns repeat over the years. Here are the biggest mistakes travelers make and how to avoid them.
Not having a backup of documents. This is the most preventable mistake. Without copies, replacing a passport or filing a theft claim becomes a much longer process. Make those copies before you go.
Ignoring local warnings. Whether it’s a weather advisory or a safety notice from your embassy, ignoring it because you don’t want to alter your plans is a bad move. Those warnings exist for a reason. Respect them.
Not checking insurance coverage details. People assume their policy covers everything until they need it. Then they find out it doesn’t cover medical evacuation, pre-existing conditions, or the specific country they’re in. Read the policy before you buy it.
Waiting too long to contact help. Some travelers try to handle things themselves first to avoid hassle. This just delays a worse outcome. Contact your insurance or embassy as soon as you realize there’s a problem.
Not having an emergency contact plan. If you can’t communicate, does anyone back home know where you are? Having a designated contact person who knows your itinerary and how to reach your insurance company can save hours in a crisis.
Creating Your Personal Emergency Action Plan
A plan doesn’t need to be long. It just needs to exist. Start with three things.
Write down the contact info for your insurance company, your embassy, and a trusted person back home. Store it in your phone, in your wallet, and on a piece of paper in your bag.
Share your itinerary with someone. Not just where you’re going, but where you’re staying and how to reach you. Check in with them regularly, even if it’s just a quick text.
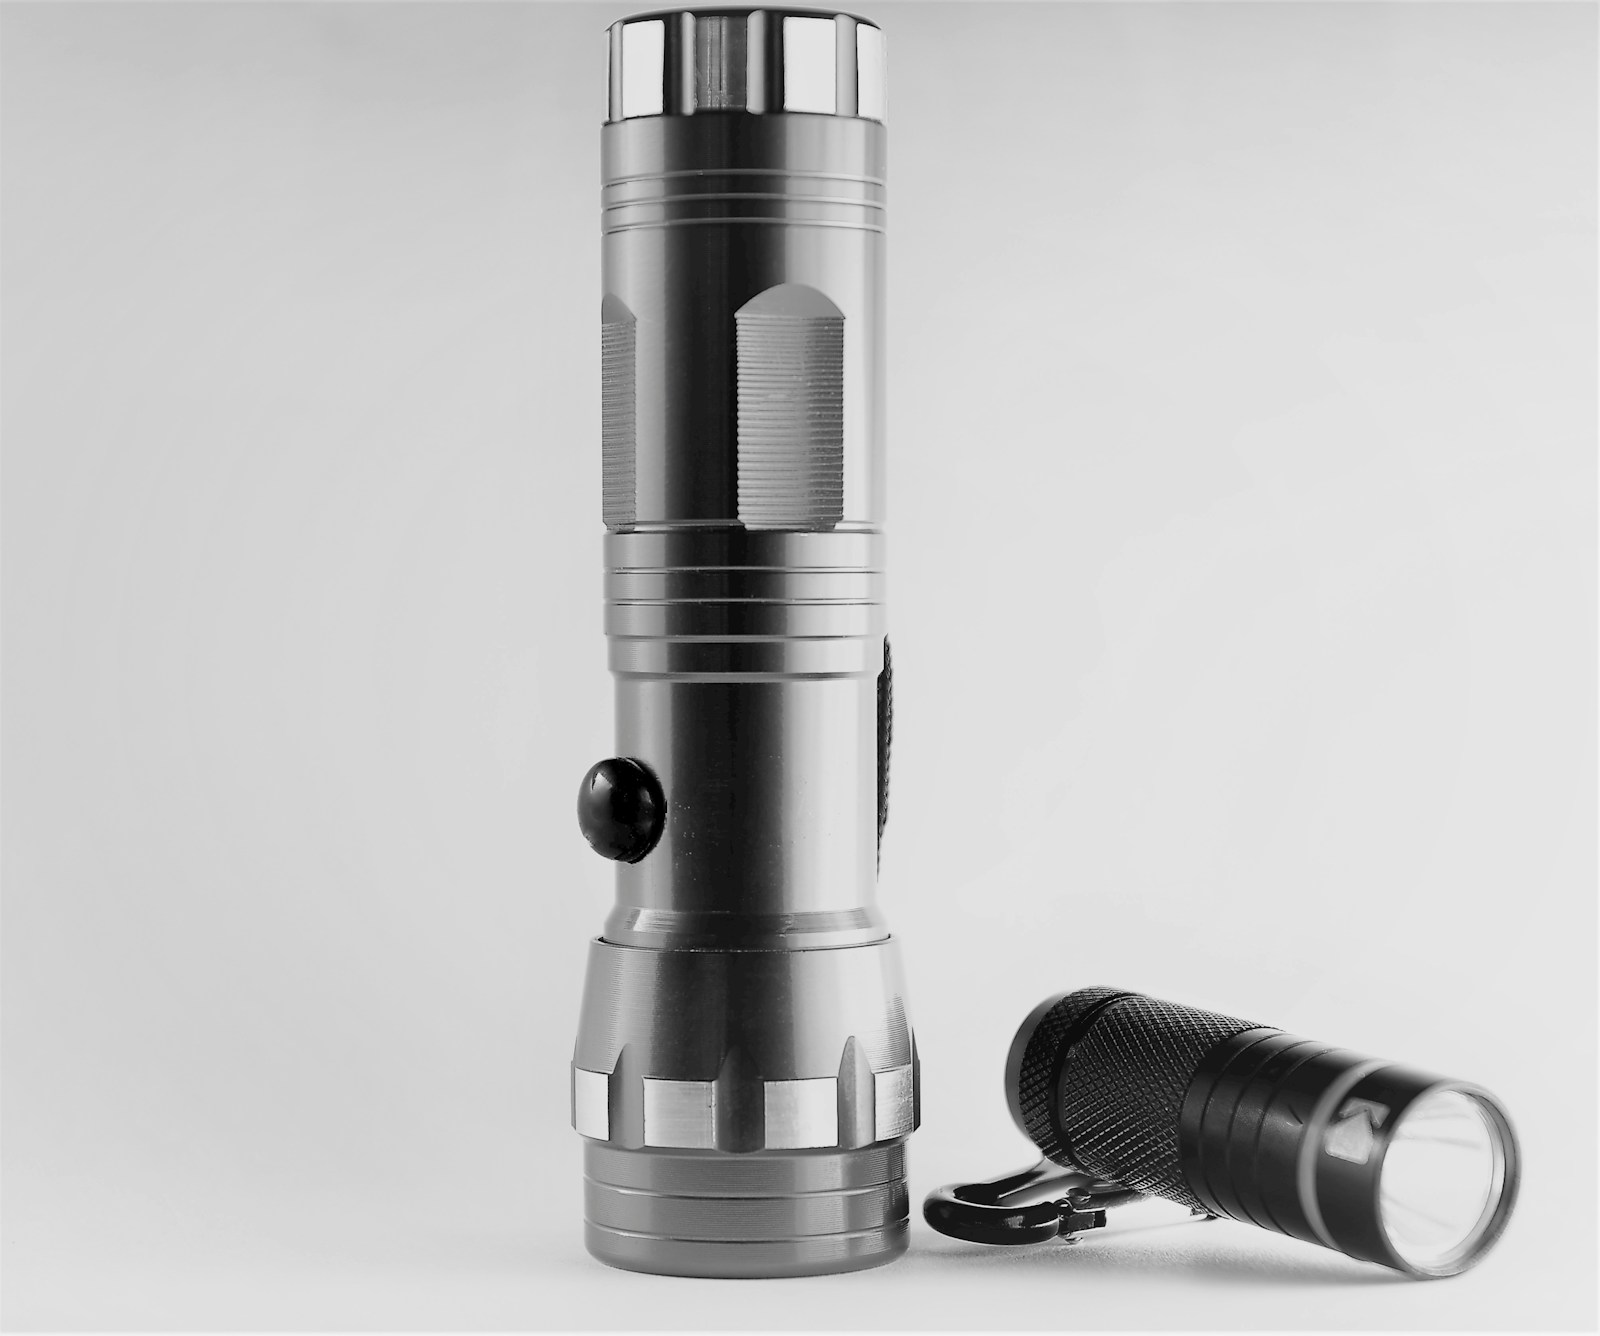
Pack a small emergency kit. Include a first aid kit, a flashlight, a portable charger, a copy of your documents, and a few basic medications. Keep it in your carry-on so you always have it.
You can buy a travel organizer that holds all this together, or a printable checklist to make packing it easier. The point is to have a system. Once you do, you can stop worrying about what if and enjoy your trip knowing you’re covered.
Final Thoughts: Preparation Is Your Best Tool
Handling travel emergencies abroad isn’t about being afraid. It’s about being in control. The steps you take before you leave are what make the difference between a manageable situation and a disaster. Back up your documents. Get the right insurance. Know who to call. Share your plan with someone at home. That’s it. You don’t need a binder full of forms. You just need to act on a few smart habits. Take a few minutes this week to review your insurance, make those copies, and set up that contact. Your future self will thank you. Feel free to share this guide with a travel buddy who’s planning their next trip. They’ll appreciate it later.