How to Stay Connected While Traveling Abroad: 7 Practical Solutions
Introduction
If youâre planning a trip abroad, figuring out how to stay connected while traveling is worth sorting out before you leave. Iâve seen too many travelers land in a new country, turn on their phone, and get hit with a text message from their carrier about shocking daily roaming fees. The goal here is to give you the practical options so you can stay in touch, navigate with maps, share a few photos, and handle emergenciesâall without a massive bill when you get home. Whether youâre a seasoned explorer or taking your first international trip, the right connection plan saves you money, time, and a fair amount of stress. This article covers the most common ways to get online abroad, from digital eSIMs to old-school local SIMs, so you can pick the one that fits your trip.
Why You Need a Plan Before You Leave
Itâs easy to assume you will find Wi-Fi when you need it. That assumption often leads to a nasty surprise. I watched a friend casually scroll Instagram for ten minutes in a European airport, only to discover later that their standard US plan charged them per megabyte. That ten minutes cost more than a week of data on a local plan. Beyond the cost, relying on random connections is unreliable. Airport Wi-Fi can be slow or require a local phone number to log in. Hotel Wi-Fi might only work in the lobby. If you need to call a ride-share, check a map, or message your accommodation, a dead zone or a login page that wonât load can be a real headache. Planning aheadâeven just fifteen minutes of researchâlets you leave with confidence. Youâll avoid the stress of searching for a signal in an unfamiliar place, and youâll have one less thing to worry about while youâre trying to enjoy your trip.
Option 1: eSIM Cards â The Modern Travelerâs Choice
An eSIM is a digital SIM card built into your phone. You donât need a physical card. You buy a plan online, scan a QR code or use an app, and within a few minutes you have data. Itâs become the most popular choice for many travelers, and for good reason. You can keep your home SIM active for calls and texts while using the eSIM for data. That means you donât have to swap cards or worry about losing your primary SIM.
The biggest advantage is convenience. You can set it up from your couch before you even leave. Providers like Airalo and Holafly are well known, and they offer country-specific or regional plans. For a one-week trip to Italy, you might pay around $10 to $20 for a few gigabytes of data. Activation is instant, and you can often top up if you run out.
There are a couple of drawbacks. First, your phone needs to be eSIM-compatible. Most newer iPhones and high-end Androids are fine, but older or budget models might not be. Second, not all carriers or regions are fully supported, so itâs smart to check coverage maps. Some eSIMs are data-only, so you wonât get a local phone number. For most travelers, thatâs fineâyou use WhatsApp or FaceTime for calls anyway. If you need a local number to book restaurants or taxis, you might prefer a physical SIM. But for the average one- to two-week trip, an eSIM is about as hassle-free as it gets.
Option 2: Local SIM Cards â Old School but Reliable
Buying a local SIM card at your destination is a time-tested method. It works well, and it is often the cheapest option if you are staying for a longer period. You walk into a shop at the airport, a convenience store, or a carrierâs official store, buy a SIM, and pop it into your phone. Prices vary, but in many countries you can get a generous data allowance for a fraction of what roaming costs.
The process is straightforward, but there are a few things to keep in mind. Your phone must be unlocked. If itâs locked to your home carrier, you wonât be able to use a local SIM. Check this well before you travel. When you buy the SIM, you will need to show your passport. This is a standard security step in most countries. Ask specifically for a data plan, or one that includes a local number if you plan to make local calls. Data-only SIMs are often cheaper.
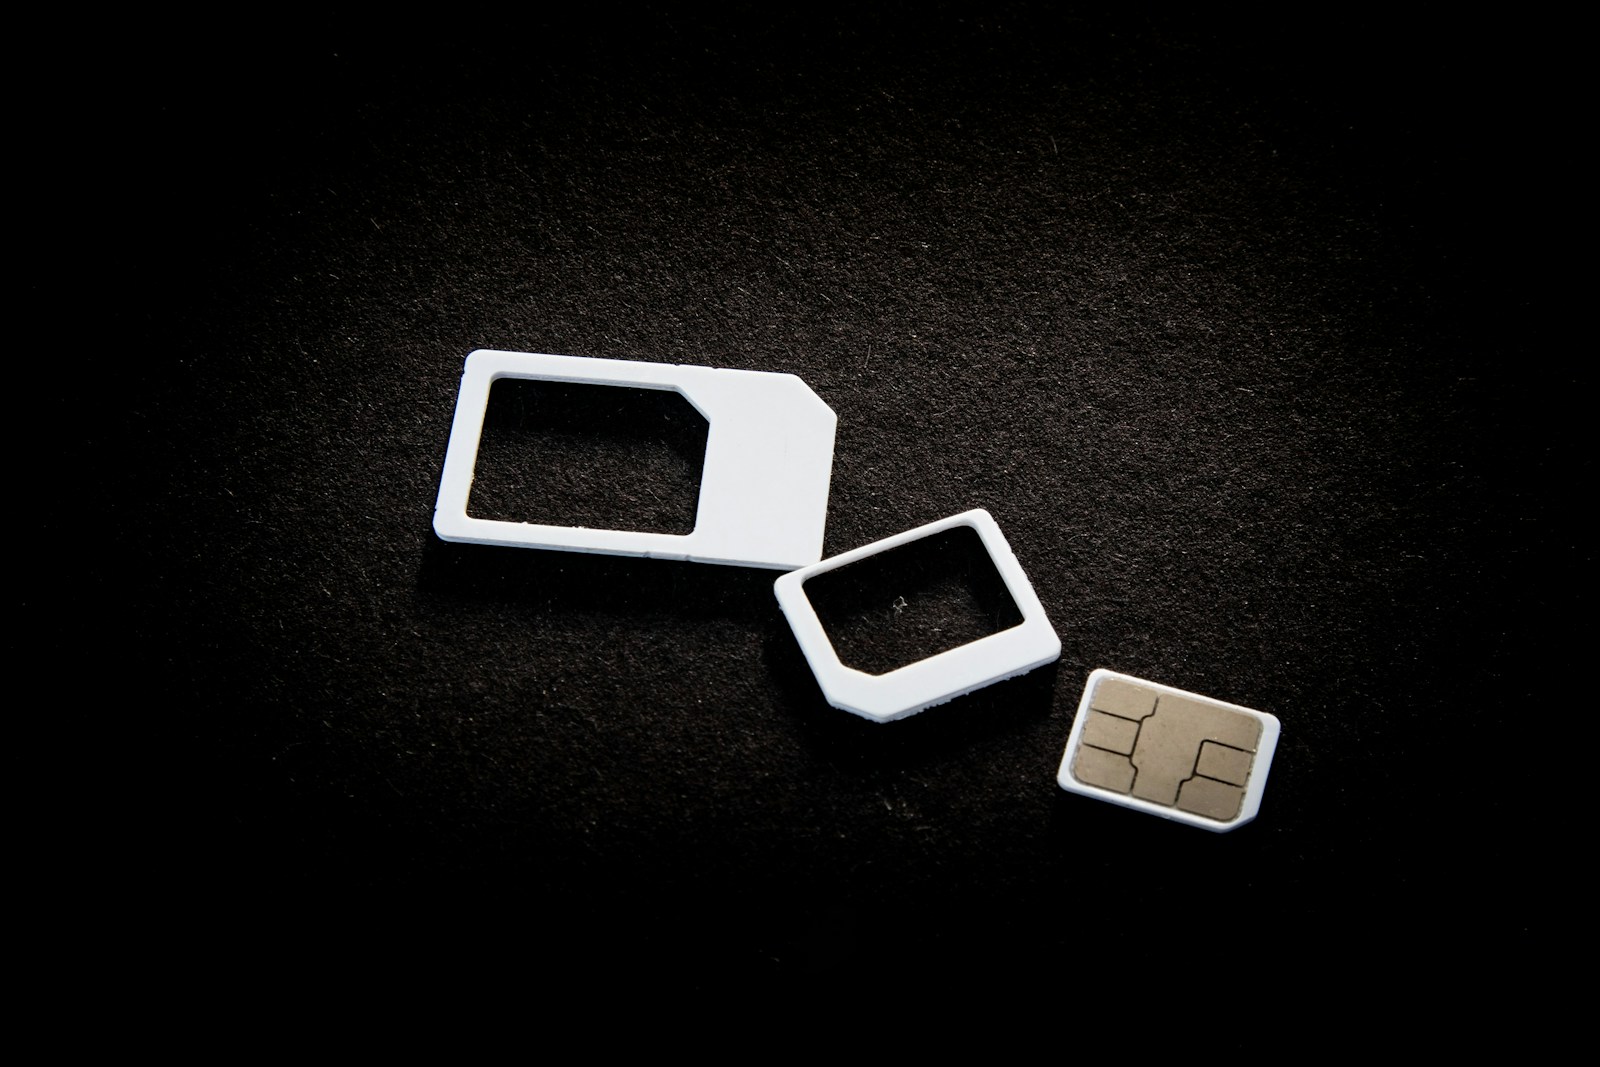
The main downside is that you have to swap SIMs. That means your home number is inactive until you switch back. Keep your original SIM in a safe placeâI use a small case in my wallet. Travelers who need a secure way to store their original SIM might consider a SIM card holder to keep it organized. Also, if you land late at night, the airport shop might be closed. You can usually find SIMs at convenience stores the next morning, but itâs something to plan for. For stays longer than two weeks, a local SIM often offers the best value for the coverage you get.
Option 3: International Roaming Plans â The Easiest but Priciest
If you want the absolute least amount of effort, your home carrierâs international roaming plan is the way to go. Carriers like T-Mobile, Verizon, and AT&T all offer options. T-Mobile has free basic roaming in many countries with slower speeds, and you can pay for faster data. Verizon and AT&T have daily pass or monthly add-on plans. You just turn on your phone when you land, and it works. No setup, no new SIM, no research.
The trade-off is cost. Daily passes can run from $5 to $12 per day. That adds up fast on a two-week trip. Speeds are often throttled after you use a certain amount of data, and video streaming might be capped. For a quick three-day business trip or a layover, the convenience might be worth it. For a longer vacation, you are almost always better off with an eSIM or local SIM. I only recommend roaming plans for very short trips or for people who genuinely donât want to touch their phone settings at all. Otherwise, youâre paying a premium for passivity.
Option 4: Portable Wi-Fi Hotspots â For Groups or Remote Work
A portable Wi-Fi hotspot is a small device that creates its own Wi-Fi network. You rent or buy the device, pay for a data plan, and connect your phone, tablet, and laptop to it. Itâs a solid option if you have multiple devices or are traveling with a family. Everyone can connect to one source, and you donât have to mess with your phoneâs SIM card or settings.
Devices like Skyroam or GlocalMe are common. They work on global networks and usually let you pay for data as you go. The big advantage is security. You control your own network instead of jumping on the hotel Wi-Fi. For digital nomads who need a reliable backup connection, a hotspot is a good investment.
On the downside, you have one more device to keep charged. If the battery dies, you go offline. You also have an upfront cost to buy the device or a daily rental fee. For a solo traveler, itâs often overkill. For a family of four, it can be more convenient than buying four separate eSIMs or local SIMs. Iâd recommend a hotspot if you need consistent, shareable internet for work or for a group trip where everyone wants to stay connected without managing their own plans.
Option 5: Free Wi-Fi â The Budget Option
Relying exclusively on free Wi-Fi is the riskiest strategy, but it works as a supplement. Most hotels, cafes, airports, and many public spaces offer free Wi-Fi. Itâs obviously the cheapest option. The problem is reliability. Speed can be slow, connections can drop, and you often have to agree to terms or enter an email address every time you log on.
Security is also a concern. Public Wi-Fi networks can be less secure, so if you are logging into bank accounts or handling sensitive information, a VPN is a smart idea. For just checking maps or messaging, the risk is lower, but itâs still worth being aware of.
Free Wi-Fi is best used as a backup. Download offline maps and any content you might need before you head out for the day. If you need to be reachable at all times, free Wi-Fi alone is not a plan. Itâs fine for quick checks, but donât count on it for navigation or staying in touch with your group.
eSIM vs. Local SIM vs. Hotspot: Which Is Best for You?
Choosing between these three main options really comes down to your trip details. Hereâs a straightforward way to think about it.
eSIM is my top recommendation for most travelers on trips of one to two weeks. Itâs convenient, fast to set up, and lets you keep your primary number active. Itâs also easy to buy a regional plan if you are visiting multiple countries. The downside is compatibility and data-only plans. But for the average visitor, itâs the sweet spot of cost and ease.
Local SIM is better for longer staysâsay, three weeks or more. Itâs usually the cheapest per gigabyte, and you get a local number, which can be useful. The hassle of swapping SIMs and the need for an unlocked phone are the main barriers. If you are staying a month in one country, this is often the best value.
Portable Hotspot wins when you have multiple people or devices. If you are traveling with your family or need to work online, a hotspot shares the connection seamlessly. It also adds a layer of security. The extra device and battery management make it less ideal for solo, short-term travel.
Quick checklist for your decision:
- One to two weeks, solo or couple â eSIM
- Three weeks or more in one country â Local SIM
- Family trip or remote work needs â Hotspot
- Very short trip or business â Roaming plan (if cost isnât an issue)
Common Mistakes That Drain Your Wallet or Data
Even with a good plan, itâs easy to make simple mistakes. Here are a few I have seen or made myself.
Leaving data roaming on with your home SIM. If you have an eSIM for data but your primary SIM is still active, make sure data roaming for that line is turned off. Otherwise, your phone might still use your home carrierâs expensive roaming in the background. Iâve seen peopleâs daily pass plan kick in accidentally because they didnât toggle this setting.
Checking coverage maps too late. Some eSIM or local carriers donât have great coverage in rural areas. If you are hiking or traveling to small towns, research this beforehand. Itâs no fun to get lost with no signal because you assumed urban coverage extends everywhere.
Buying the wrong amount of data. Too little data, and you run out mid-trip. Too much, and you waste money. For a two-week trip, 5GB is usually plenty if you use Wi-Fi for streaming. If you plan to work or stream video, go for 10GB or more. You can always top up an eSIM or buy more data for a local SIM, so avoid overbuying.
Assuming free Wi-Fi is everywhere. It isnât. Even in major cities, you can go stretches without a reliable free connection. Relying on it as your primary source of internet is a gamble. Always have a backup data plan, even if itâs limited.
Essential Gear to Keep You Charged and Connected
A dead phone is a disconnected phone. No matter which connection method you choose, itâs useless if your battery runs out. Hereâs the gear that makes a difference.
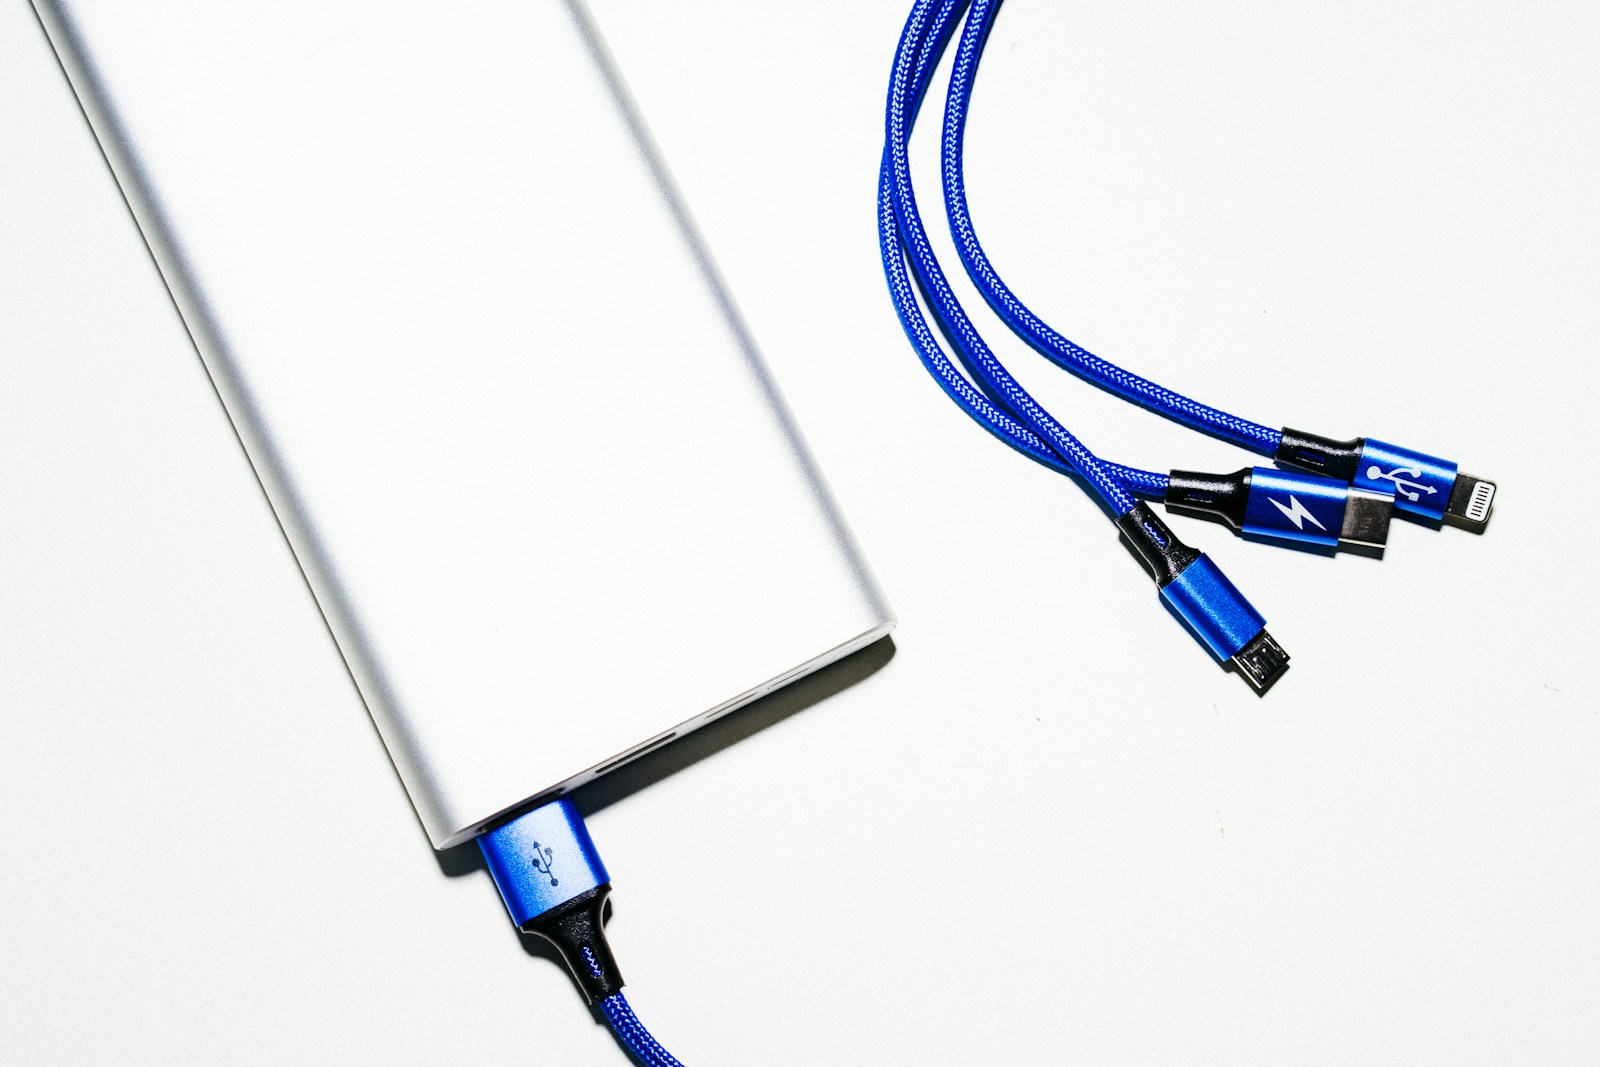
Portable power bank. This is the most important accessory. Look for one with at least 10,000mAh capacity. That will give your phone a full charge or two. I use an Anker model that has pass-through charging so I can charge the bank and my phone at the same time overnight. Travelers who frequently need a backup charge might benefit from a portable power bank to keep their devices running during long days out. A good power bank solves the problem of hunting for an outlet in a cafe or airport.
International plug adapter. Wall outlets vary by country. A universal adapter lets you charge everything. Avoid the cheapest onesâthey can be flimsy and overheat. A compact adapter with USB ports is ideal so you can charge multiple devices from one outlet.
USB-C cable. A durable, braided cable is worth the investment. Pack two: one for your bag and one for your hotel room. Cables break at the worst times, and finding a replacement in a foreign country can be a hunt. A simple way to reduce the chance of a dead phone is to carry a spare braided USB-C cable that can handle daily wear and tear. Just having a backup can save you a headache.
Final Checklist: Setting Up Before You Fly
Hereâs what to do before you leave to make sure everything works smoothly:
- Check that your phone is unlocked (if you plan to use a local SIM).
- Confirm your phone supports eSIM (if you plan to use one).
- Research local carriers or eSIM providers for your destination.
- Buy and install your eSIM before you leave, or know where to get a local SIM upon arrival.
- Download offline maps in Google Maps for your destination.
- Install WhatsApp or another messaging app that works on data.
- Pack your power bank, adapter, and a spare cable.
Thatâs it. Fifteen minutes of preparation, and you can step off the plane ready to stay connected without extra cost or hassle.
Frequently Asked Questions About Staying Connected Abroad
Can I use my phone for free abroad?
Almost never on your regular plan. Free Wi-Fi is available in some places, but itâs not reliable. You need a travel data plan, eSIM, or local SIM to stay connected consistently. Relying on free options is risky.
How much data do I actually need?
For a one-week trip, 3-5GB is usually enough for navigation, messaging, social media, and occasional browsing. If you stream video or work online, plan for 10GB or more. Most eSIMs let you top up, so start smaller and add if needed.
Will my eSIM work in multiple countries?
It depends on the plan. Many eSIM providers offer regional plans (e.g., Europe-wide) that cover multiple countries. Country-specific plans only work in that country. Check the coverage details before you buy. If you are hopping between countries, a regional plan is usually more convenient.